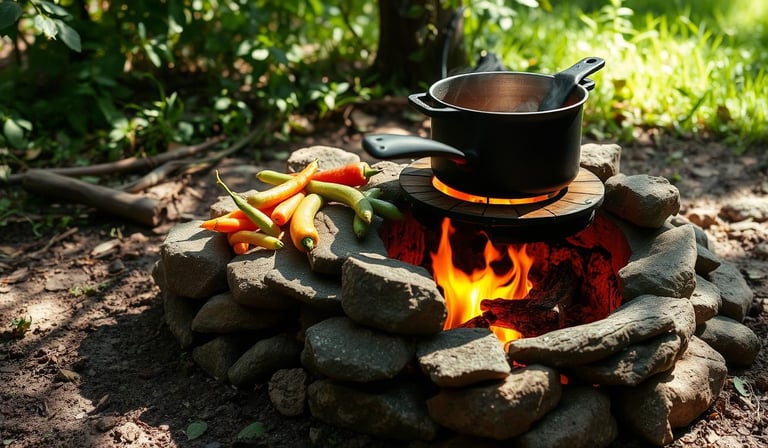
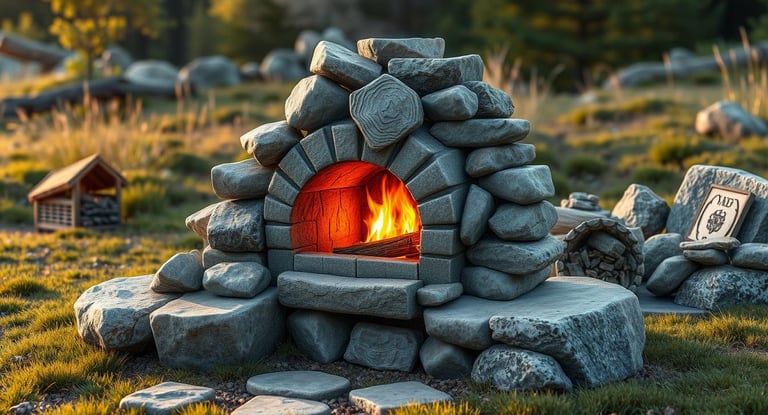
Rock-Solid Survival: How to Build a Rocket Stove from Natural Materials
Master the art of sustainability with my step-by-step guide on how to build a rocket stove from rocks, perfect for eco-friendly outdoor cooking and sustainable living.
PREPPING POSTS
Kathrine-Anne Hill
12/16/202411 min read

Affiliate Disclosure:
Please note that some of the links in this article are affiliate links. This means that if you click on these links and make a purchase, I may receive a small commission at no additional cost to you. This commission helps support the maintenance and growth of this website and allows me to continue providing valuable information and recommendations. Rest assured, I only recommend products and services that I have personally used or thoroughly researched. Your support is greatly appreciated! For full disclosure see our Privacy Policy and Terms and Conditions here.
Rock-Solid Survival- DIY Guide to Building a Rocket Stove
Imagine cooking a full meal outside or in an emergency with just rocks. This skill isn't just for survivalists or green lovers. It's a smart way to cook food, and I'll show you how to do it. It's like going back to the Stone Age but in a green and modern way, exploring DIY rocket stoves.
This stove can get hot fast and costs only the effort to find stones. This guide will walk you through making your own homemade rocket stove. It's great for camping or as a backup cooking option. This skill is worth learning.
Key Takeaways:
Learn the basics of building a DIY rocket stove using readily available rocks.
Understand the science behind the efficiency of homemade rocket stoves.
Discover the necessary steps for a step-by-step rocket stove guide, ensuring you get it right the first time.
Embrace the low-cost and high-efficiency perks of rocket stoves for multiple uses – from cooking to heating.
Gain insights into the common pitfalls and design tips to optimize your rocket stove's performance.
Introduction: The Versatility and Efficiency of Rocket Stoves
Rocket stove construction has brought a big change to outdoor cooking. These stoves are known for being efficient. They mix old ways with new ideas well.
They use simple stuff and smart designs. This makes cooking outdoors both good and green.
Why Rocket Stoves Have Gained Popularity
Rocket stoves are getting more popular for good reasons. They burn fuel well and don't need much of it. This is why campers and outdoor fans like them.
They're also great for those who want to live green. They burn stuff that would be thrown away. Plus, you can find them in stores or make your own with stuff like rocks and cans.
The Environmental and Economic Benefits
Old ways of cooking can harm the environment. They make a lot of smoke and use a lot of fuel. But, rocket stoves change this by burning fuel better.
This means less smoke and less fuel used. It's good for the planet and saves money. Making your own rocket stove is also cheap and eco-friendly.
Rocket stoves help us live better and cleaner. They make cooking outdoors easier and more fun.
The environmental and economic benefits of using a rocket stove are significant, even for those who are looking to reduce their carbon footprint while saving money. By learning how to build a rocket stove from rocks, you can create a highly efficient cooking device that utilizes natural materials and minimizes waste.
This approach not only conserves resources but also promotes sustainable living. The design of a rocket stove allows for efficient combustion, which means less fuel is consumed, leading to reduced smoke and air pollution, making it an earth-friendly rocket stove that can greatly improve outdoor cooking experiences.
Understanding the Rocket Stove Principle
The rocket stove design burns fuel in a smart way. It heats up to 325°C in just thirteen minutes. This shows how efficient it is.
The rocket stove's main strength is its ability to burn fuel almost completely. This reduces smoke and harmful emissions.
The rocket stove works with a special setup called the 'J-tube' system. This system lets air rush into the fire area. This makes a small amount of wood burn hot.
The insulation, like Pearlite or wood ash, keeps the heat inside the fire area.
The vertical chimney is key to the rocket stove design. It makes sure the heat is used well before it goes out. This design helps cook food fast and uses less wood than other methods.
The rocket stove is efficient because it burns fuel and oxygen well. This makes it great for heating water and cooking.
Building an outdoor rocket stove is a fun DIY project. You need simple things like bricks, a fireplace pipe, and insulation. To make it better, use old red bricks and add a cob layer for even heating.
Keeping it in good shape with regular maintenance helps it last longer.
The rocket stove is loved worldwide for its usefulness and eco-friendliness. It's great for natural building and everyday use. Its cost-effective design and operation make it a big step towards living more sustainably.
Materials and Tools You'll Need for Your DIY Rocket Stove
Building a homemade rocket stove is an exciting and eco-friendly project. To start, you need the right materials and tools for efficiency and safety. Here's a detailed list to help you begin.
Choosing the Right Rocks
Choosing the right rocks is key for your rocket stove. Look for rocks that are dense and strong to handle the heat. Larch, pine, and spruce woods are good choices for their durability and burning efficiency.
Make sure the rocks or woods are well-seasoned. This reduces smoke and improves burning.
Gathering and Preparing Your Tools
For building a rocket stove, you'll need simple yet specific tools. Here's what you should gather:
Large tin can (such as a #10 can) and one additional smaller can for the combustion chamber
Utility knife for cutting the metal
Sharpened nail or screwdriver for puncturing holes
Can opener to smoothly remove the top of the can
Hammer and pliers for bending and securing metal parts
High-heat spray paint for finishing touches (optional)
Heavy-duty gloves to protect your hands during construction
You'll also need gravel or small stones for the stove's base. This adds stability. Marbles can be used instead for a unique and attractive base.
A well-made homemade rocket stove is not just a heat source. It's also a symbol of sustainable living. By using recycled materials and local rocks, you help reduce waste and support the environment. This is important in DIY projects.
How to Build a Rocket Stove from Rocks
Building a backyard rocket stove is a fun DIY project. You can make one using rocks and simple techniques. This way, you get a stove that burns efficiently and produces little smoke.
The design of a rocket stove is key for good performance. It needs a combustion chamber, which is the heart of the stove. This chamber should be shaped like a 'J' or 'L' to help heat up fast and burn well.
Selecting the Right Rocks: Choose dense rocks like granite or fieldstone. They can handle high heat without breaking. Stay away from river stones, as they might explode when heated.
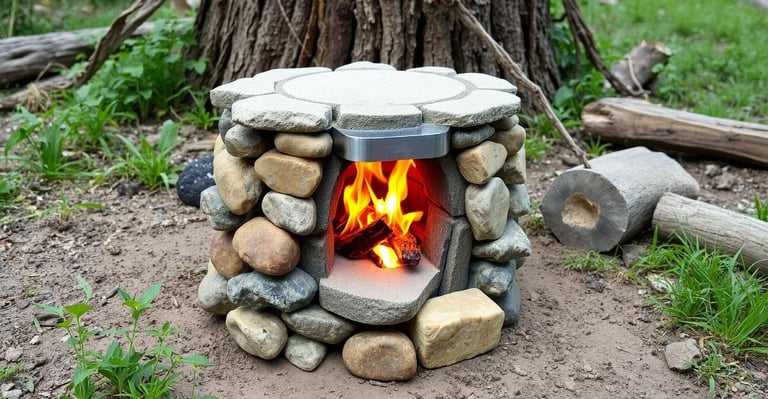
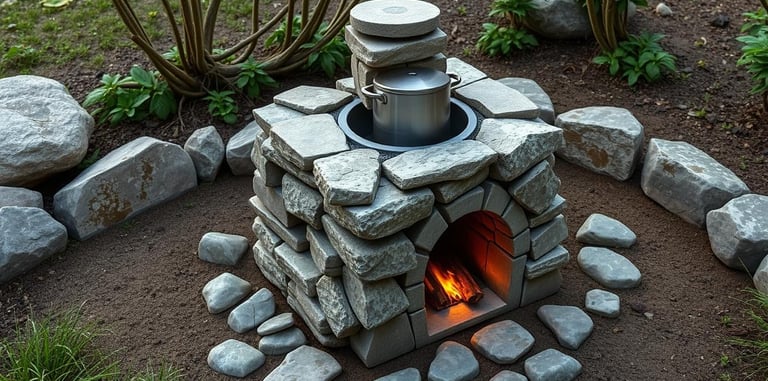
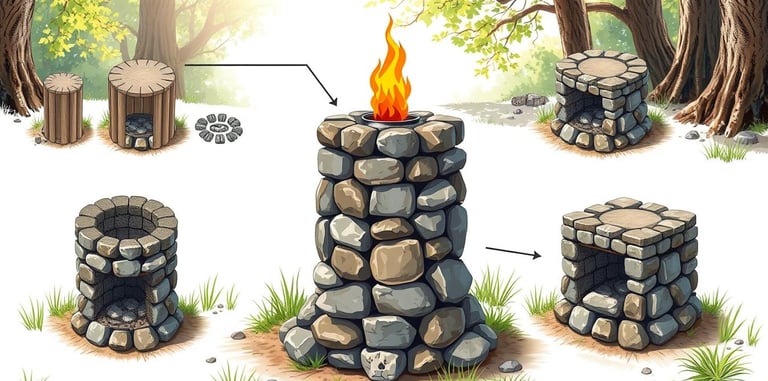
Forming the Combustion Chamber: Stack the rocks to form a cylinder. Make sure there's a space for air to come in at the bottom. Also, have a vertical chimney for exhaust and air intake.
Setting Up the Feeding Tube: This part helps you add fuel easily. It should slope down to make feeding the stove simple.
How to Build a Rocket Stove
This simple setup can greatly improve your stove's efficiency. By following this guide, your stove can heat up quickly. In some cases, it can reach up to 325 °C in just a few minutes.
Building a rocket stove is not just about cooking. It's also a way to reduce waste by burning small wood pieces. Plus, it burns efficiently, leaving little to no smoke. This means you can enjoy your outdoor space without smoke.
Remember, safety is important. Make sure your stove is stable and keep flammable things away from the heat. Your backyard rocket stove will become a great addition to your outdoor activities.
Start this eco-friendly project today. It's a great way to improve your DIY skills and have a practical heating solution.
Step-by-Step Guide for Assembling Your Rocket Stove
Building a rocket stove from rocks is a rewarding DIY project. It also helps you create a sustainable heat source. Here's a guide to build a rocket stove that's efficient and stable.
Positioning the Rocks for Optimal Airflow
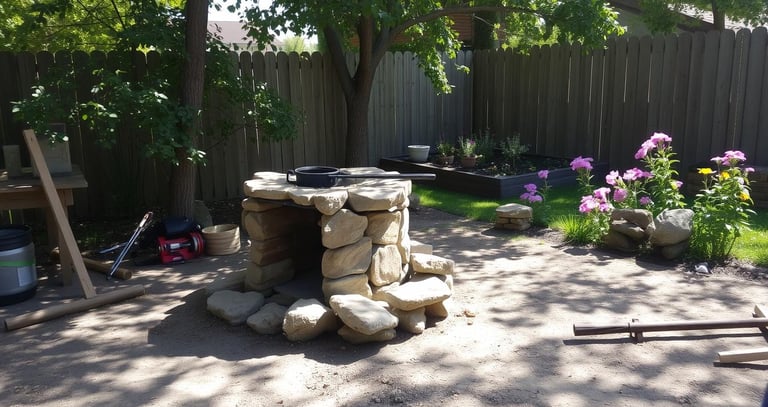
The success of your rocket stove depends on rock placement. Choose flat, sturdy rocks and arrange them in a circle or square. This setup creates a solid base and allows for good airflow.
Make sure there's an air intake hole at the base. This hole is key for quick heat, as rocket stoves can get up to 180°C in minutes.
Ensuring Stability in Your Stove Structure
Stability is critical when building a rocket stove. Each rock should fit snugly against its neighbors. This creates a tight, stable structure.
Use soil and water as a natural cement or clay if you have it. A stable stove heats well and lasts longer, keeping you safe.
Building a rocket stove is affordable and doesn't need special skills. Some designs cost around $5 and use common items like an oil can or stainless steel flue.
By following these steps and keeping your stove dry, you'll have a great heating experience. A well-built rocket stove is perfect for cooking or heating outdoors.
Customizing Your Rock Rocket Stove Design
Creating my own outdoor rocket stove was a journey of discovery. I found that every design can show off your style and needs. I added special touches to make it both useful and beautiful.
Choosing the Right Rocks: I picked rocks that fit the stove and matched my backyard. Each rock could handle high heat without breaking.
Incorporating a Flat Top: I added a flat stone top for grilling. It's great for barbecues and makes cooking fun for everyone.
Designing a Pot Stand: I made a pot stand that fits different pot sizes. It's useful for boiling water or cooking big meals.
Optimizing for Efficiency: I arranged the rocks for better airflow. This made my stove burn fuel more efficiently and produce less smoke.
These custom features made cooking better and turned my outdoor space into a highlight. Building the stove myself let me fine-tune it to meet all my cooking needs.
Creating a rocket stove is all about combining simplicity with creativity. By tweaking the air intake and rock positions, I improved its performance. My stove can handle anything from grilling to simmering, making outdoor cooking a breeze.
The key to a great rocket stove design is making it fit perfectly with your outdoor space. This boosts both its use and the joy of cooking outside.
Tips for a Durable and Effective Rocket Stove
Building a sustainable rocket stove requires focus on quality and durability. This guide offers tips for making a long-lasting and efficient DIY rocket stove. You'll learn how to use common materials and keep your stove in top shape.
Using Natural and Abundant Resources
Choosing materials that are durable and easy to find is key for an eco-friendly rocket stove. Rocks are great for the stove's body because they can handle high heat. Bricks or cinder blocks are also good options.
Using biomass or small twigs for fuel is smart. It uses what's available and helps the stove burn clean and hot.
Maintaining Your Rocket Stove Over Time
Regular Cleaning: Clean your stove after each use. This keeps it working well and prevents blockages. It also helps with air flow, which is key for burning.
Inspection and Repair: Check your stove often for damage like cracks. Fixing problems early can make your stove last longer.
Performance Enhancements: As you get to know your stove, you might find ways to make it better. For example, adjusting the burn tunnel or adding a diffuser plate can improve heat and fuel use.
By using materials you can find and keeping up with maintenance, your DIY rocket stove will last a long time. This project is rewarding and good for the environment. It uses natural resources and reduces waste.
Cooking with Your Homemade Rocket Stove
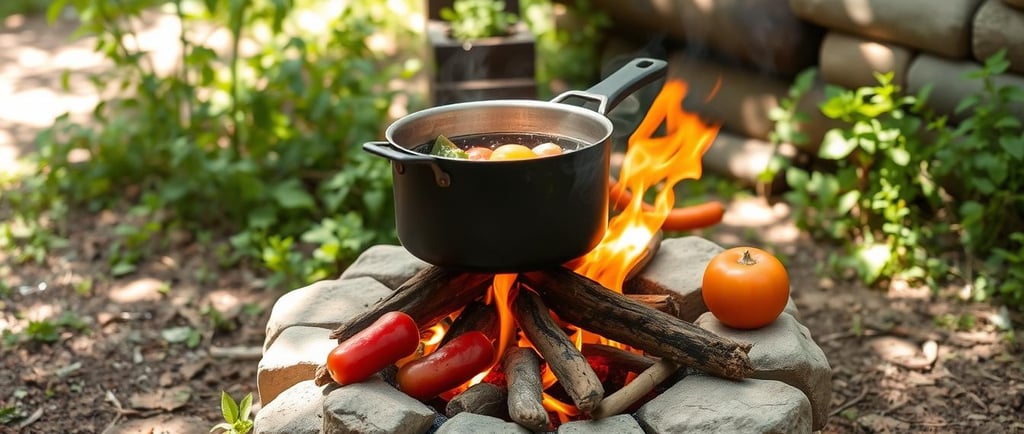
Building a rocket stove from rocks is just the start. The real fun is cooking on it! This stove is a DIY wonder and a great outdoor cooking tool. You'll love its efficiency and ease of use as you get better at rocket stove cooking.
At first, you might think it's too simple for cooking different meals. But, rocket stoves can do it all! They heat up fast, perfect for boiling, sautéing, and grilling.
What Can You Cook on a Rocket Stove?
Boiled dishes like pasta and rice because the rocket stove brings water to a boil quickly.
Grilled vegetables and meats which benefit from the high, direct heat.
Simmered sauces and stews, where the fire can be kept low and consistent.
Adjusting the Heat for Different Recipes
Rocket stove cooking lets you control the heat. It might seem old-fashioned, but you can adjust it well. Change the fuel size to change the heat, fitting each recipe perfectly.
Rocket stoves cook with almost no smoke. This is good for the environment and your food's taste. Using your homemade rocket stove will make you proud of your DIY skills and sustainable living.
Outdoor Rocket Stove: Safety and Regulations
Using an outdoor rocket stove comes with safety rules and legal guidelines. I'll cover the key points of rocket stove safety and legal standards. These are important for safe and effective use.
First, always place your rocket stove on a non-combustible surface. This is very important because rocket stoves can get very hot, over 350°C. Also, keep flammable items away from the stove to avoid fires.
Another important rocket stove safety rule is to watch the stove at all times. Rocket stoves are very efficient and hot. If left alone, they can become dangerous. Always manage fuel safely to avoid burns or fires.
Installation Area: Make sure the area is clear of debris or branches that could catch fire. The space around the stove should be a safety zone.
Operational Supervision: Never leave the stove alone while it's being used. Always watch it to make sure it's working right.
Local Fire Regulations: Know the local fire safety rules and regulations. Some places have special rules for outdoor rocket stoves, like when and where you can use them.
Lastly, knowing the legal side of using a rocket stove is key. Many places have rules about outdoor fires, including outdoor rocket stoves. These rules might tell you when and where to use your stove, or if you need a permit. Following these laws keeps you and your community safe.
Conclusion: Embracing the DIY Spirit
As we wrap up our guide on building a backyard rocket stove, I reflect on the DIY spirit's power. This project highlights the value of self-reliance and caring for our planet. With over 80% of us paying more in taxes in 2018, finding ways to save money and protect the environment is vital.
The cold mornings didn't stop me from starting this project. I used the same drive I have for learning new skills, like editing videos, to build my rocket stove. Every step, from picking rocks to designing the chamber, was an investment in my home. It added a useful tool for outdoor cooking and taught me about sustainable living.
The idea of masonry stoves, which burn clean and are very efficient, inspired me. By adding elements of these stoves to my rocket stove, I felt connected to a tradition of smart living. With masonry stove kits costing thousands, making it myself was even more appealing.
The smoke from my stove is as clean as from expensive heaters, showing the success of my efforts. Despite gossip about taxes and the environment, I've made a positive impact. Wearing masks during COVID reminds us that every action helps. Tending to my stove, I feel empowered by the resilience and warmth it brings to my home.
Related Posts:
