From Earth to Art: Wild Clay Processing and Pit Kiln Pottery
Unlock the potential of wild clay processing for pottery. This guide will help you master the art of wild clay processing, and building a pit kiln for pottery.
PREPPING POSTS
Kathrine-Anne Hill
1/24/202510 min read
Affiliate Disclosure:
Please note that some of the links in this article are affiliate links. This means that if you click on these links and make a purchase, I may receive a small commission at no additional cost to you. This commission helps support the maintenance and growth of this website and allows me to continue providing valuable information and recommendations. Rest assured, I only recommend products and services that I have personally used or thoroughly researched. Your support is greatly appreciated! For full disclosure see our Privacy Policy and Terms and Conditions here.
Introduction to Wild Clay and Its Uses
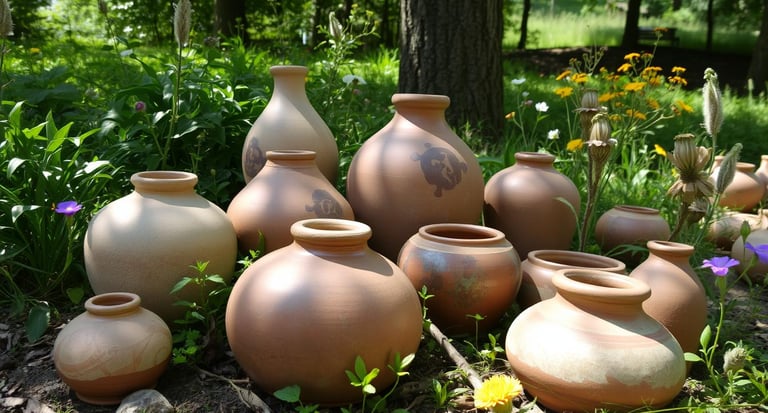
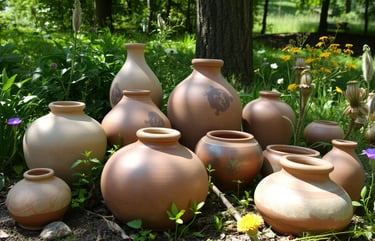
Wild clay, a natural raw material, has been essential in pottery making for centuries. Found in riverbanks, hillsides, and various geological formations, it offers a wide range of qualities that are perfect for ceramic art. The unique features of wild clay, including its plasticity, texture, and color, make it a valuable resource for artisans wanting to create one-of-a-kind pottery pieces. Unlike commercially produced clay, wild clay has qualities that can enhance the artistry and individuality of the final products.
The importance of using local materials in pottery cannot be overstated. By working with wild clay, artisans connect their craft to the surrounding environment, giving their pieces a sense of place and tradition. Historically, wild clay has been a primary material for potters, reflecting the geological history and cultural practices of a region.
Key Takeaways
Wild clay processing for pottery requires patience and practice to master the techniques.
Approximately 80% of the Earth's surface contains clay, making it a widely available material for pottery clay processing.
Soil types described as "sandy loam" can contain up to 20% clay, which can be used for pottery clay processing.
Many regions yield clay, with examples including creeks, river banks, lakes, and ponds, making it easy to find materials for wild clay processing for pottery.
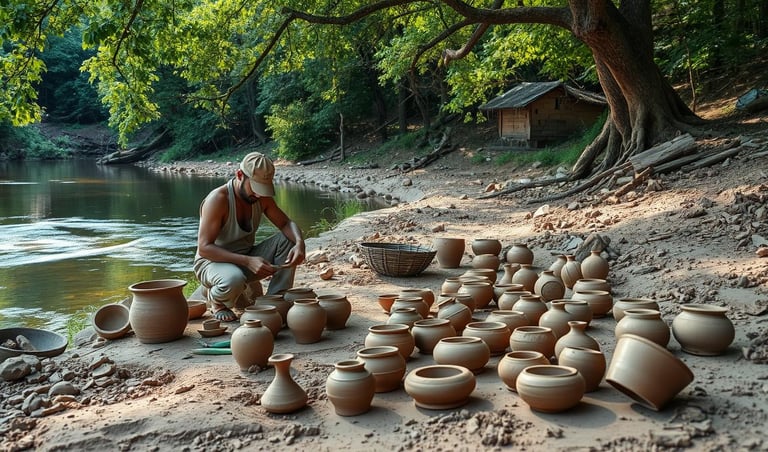
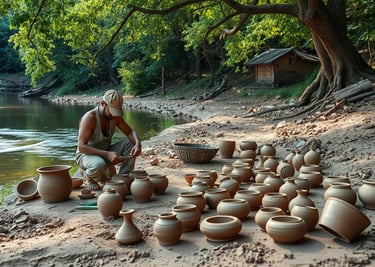
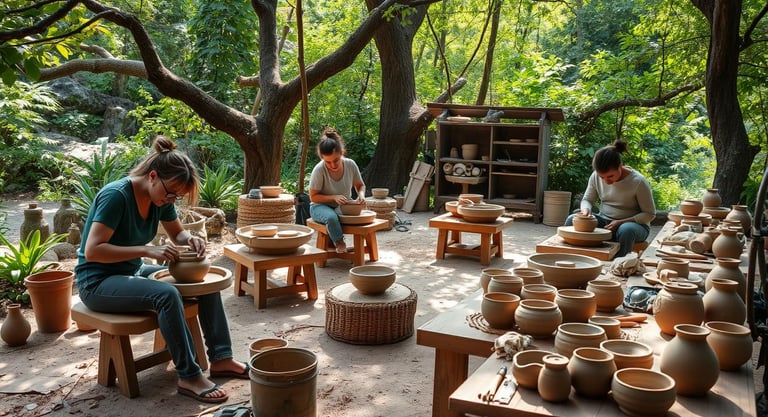
Collecting Wild Clay: Techniques and Tips
The first step in finding wild clay is to identify appropriate locations. Typically, riverbanks, stream beds, and areas with exposed soil are ideal spots. By observing the landscape, you can often spot clay deposits, which appear as distinct, moist patches. Wild clay is loved for its texture, color, and strength. But, some think it's hard to work with or rare. Knowing these facts helps potters see wild clay's value and find ways to work with it.
Some potters mix different clays to make a better clay body. This helps solve problems like cracking. Clay's quality depends on its plasticity. A simple test is to roll it into a coil. If it wraps around a finger without breaking, it's good. It should also feel like plastic when mixed with water. Mixing 20% sand with clay can also make it better, using a 4 to 1 ratio.
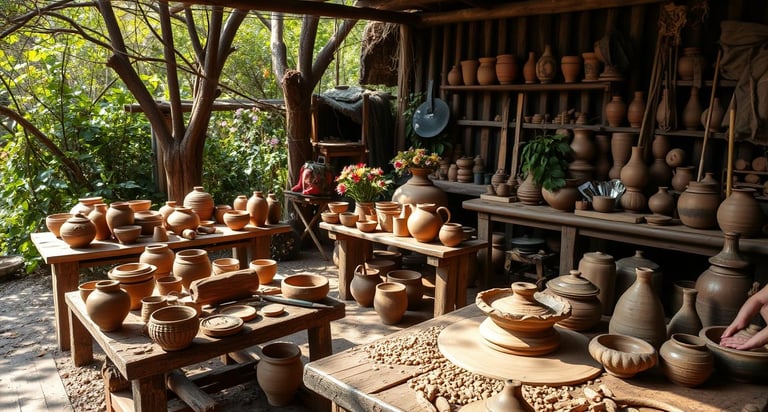
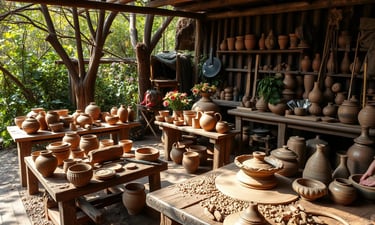
Essential Tools and Equipment
Processing wild clay needs the right tools and equipment for success. You'll need basic tools like buckets, shovels, and sieves.
Safety is key in a wild clay pottery workshop. You'll need gloves, masks, and protective eyewear. Here are some essential tools and equipment for clay processing:
Basic tools for collection: buckets, shovels, and sieves
Processing equipment: mixers, blenders, and kilns
Safety gear: gloves, masks, and protective eyewear
With the right tools and equipment, you can have a safe and successful wild clay processing experience. This is true whether you're using wild clay firing methods or other techniques.
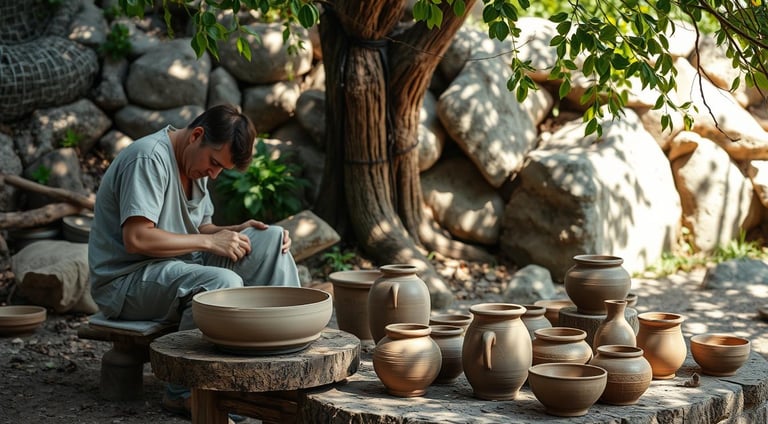
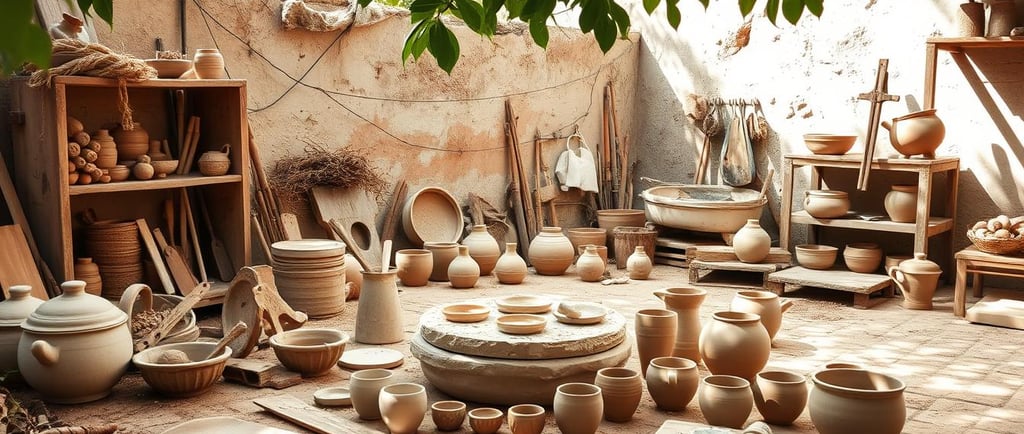
Preparing Wild Clay for Pottery Making
The process of transforming raw wild clay into finished pottery starts with the careful preparation of the material collected. When gathering wild clay, it's important to pay attention to the location, as the composition and properties can differ greatly depending on the area. After collection, the first step is to clean the clay. This means removing any large debris, such as rocks, twigs, or roots that could interfere with the pottery-making process. Breaking the clay into smaller pieces is advisable, as it makes it easier to handle and ensures that all impurities can be addressed. Sieving is a big help in refining wild clay. It separates the clay from big particles and impurities. Potters use sieves with different mesh sizes to do this. Water processing is another method. It makes the clay more plastic and easier to work with.
Once the larger impurities are removed, the next step is to further clean the clay to get rid of finer particles. This can be achieved by mixing the clay with water and letting it soak for several hours, which helps to soften it. After soaking, the mixture should be strained through a fine mesh or cloth to separate the clay from any remaining impurities, like sand or mineral inclusions. The end result should be a smooth texture free of unwanted materials, providing a solid base for successful pottery.
To improve the quality of the wild clay, various additives can be included. Common additives are grog (pieces of pre-fired clay) to enhance texture and minimize shrinkage, or minerals such as silica and feldspar to boost durability and firing properties. It's essential to measure and mix these additives carefully to keep the desired workability of the clay for shaping and forming.
Testing the workability of the prepared wild clay is crucial. This can be done by taking a small sample, shaping it into a simple form, and allowing it to dry. Observing how the clay reacts to shaping, drying, and firing will give valuable insight into its suitability for pottery. Following these steps ensures the best results, enabling artists to create both functional and beautiful pieces with confidence.
Proper drying and storage are key for wild clay pottery. In humid places, pottery can stay wet for over a week. This means it needs extra drying time of one to two weeks. The clay's type also affects drying time. Clays that are more wet and soft dry slower. Adding grog to the clay can help it dry faster. This is because grog is already fired and doesn't soak up water.
Here are some key steps to prepare wild clay for pottery making:
Wedging: This involves kneading and folding the clay to remove air pockets and improve its plasticity.
Achieving proper consistency: This involves adding water or other materials to adjust the clay's workability.
Adding amendments: This involves adding materials such as silica or feldspar to improve the clay's strength and durability.
Before starting, plan and prepare. Know the wild clay's unique traits.
Understanding the clay's properties is key. Pottery making with wild clay means knowing how it fires. Adding feldspar helps, and a gentle preheat removes moisture.
Here are some tips for wild clay projects:
Test the clay's properties first
Use the right tools and equipment
Let it dry well to avoid cracks
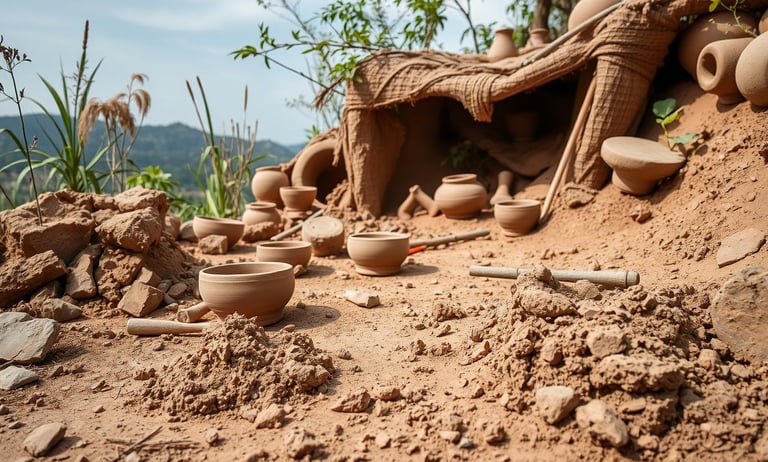
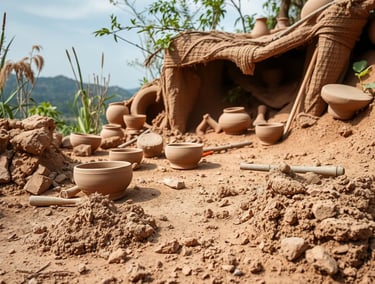
Understanding Pit Kilns: An Introduction
Pit kilns have played a crucial role in pottery production for centuries, providing a simple yet effective method for firing clay vessels. Essentially, a pit kiln is a basic structure dug into the ground, designed to hold both the pottery and the combustible materials required for firing.
One of the main benefits of using pit kilns for firing pottery is their affordability and simplicity. Unlike modern kilns that require substantial investment and infrastructure, pit kilns can be built with minimal tools and materials. This allows artists to connect directly with nature, using wild clay and local organic materials as fuel. This not only adds character to the finished pieces but also supports sustainability by reducing waste and resource use.
Key to building a pit kiln are its basic materials, which usually consist of clay, fuel sources like wood or other organic materials, and sometimes extra components for better insulation and heat retention. The firing process involves layering the pottery with fuel in the pit, igniting the materials, and allowing the structure to reach the necessary temperature for vitrification. Understanding this essential process is vital for artists looking to explore this traditional technique.
Building Your Own Pit Kiln
It's important to find a spot that is free from flammable materials and far enough away from any buildings or structures. Look for a flat area with good drainage to manage rainwater and avoid dampness. Once you've found a suitable site, the next step is to start digging.
Dig a circular or oval pit that is about three feet wide and two feet deep. The size can vary depending on how much pottery you plan to fire, but it's best to keep it manageable if you're just starting out. After digging the pit, line the bottom with a layer of sand or ash. This will help insulate the pottery from the direct heat of the fire and reduce the risk of cracking during firing.
For the kiln construction, gather local materials. You can use bricks or stones to create a wall around the pit, while larger stones or sandbags can provide overhead protection. This setup helps maintain the desired heat concentration. Once your pit kiln is ready, it's a good idea to add ventilation holes to promote efficient air circulation during the firing.
Safety is crucial throughout this process. When building and firing the pit kiln, make sure to wear appropriate safety gear, such as gloves and dust masks. Avoid using treated wood or chemically treated materials, as these can emit harmful fumes when burned. It's also wise to keep a fire extinguisher on hand during the firing. Finally, always follow local regulations regarding open fires to ensure safety. With careful planning, your pit kiln can be an excellent asset for your pottery endeavors.
Firing Pottery in a Pit Kiln: Techniques and Best Practices
Firing pottery in a pit kiln is an age-old method that connects us to traditional craftsmanship. Preparing and packing the pottery into the kiln demands meticulous attention to detail to ensure that each piece comes out as intended. First, choosing the right location for the pit is crucial; it should ideally be sheltered from wind and harsh weather. After finding the perfect spot, dig a pit deep enough to hold both the pottery and the fuel for firing, typically around two to three feet deep.
Once the pit is ready, the next step is to carefully arrange the pottery inside. It's advisable to use a layer of combustible materials, like straw or dry leaves, to cushion the pieces and reduce the risk of cracking. The pottery should be arranged thoughtfully, allowing for airflow and ensuring that heat circulates evenly. This arrangement is essential, as it directly affects the firing outcome.
Starting the fire is a key part of the pit firing process. Begin by igniting the combustible materials at the bottom, letting the flames grow gradually. It's important to control the temperature during this process, as it can fluctuate depending on the type and amount of fuel used. Keeping a close eye on the firing is crucial; it usually takes between six to twelve hours. During this time, periodically check the heat and make adjustments as needed by adding more fuel or modifying airflow.
Common challenges during pit firing include inconsistent temperatures and uneven burning. Using cones can help monitor the temperature; placing them among the pottery will show the heat levels achieved in the kiln. Troubleshooting may require adjusting the packing arrangement or improving ventilation to address these issues. With careful planning and execution, firing in a pit kiln can yield beautiful results that showcase both the artisan's skill and the unique qualities of wild clay.
Post-Firing: Finishing and Evaluating Your Pottery
Once the pottery has been taken out of the pit kiln, a careful post-firing process begins to ensure that all the time and effort put into the piece results in a true work of art. The first step is to carefully extract the pottery from the ashes and coals. It's crucial to wear heat-resistant gloves to avoid burns, as some pieces may still be quite hot. Using tools like tongs or a spatula to lift the pottery is advisable, as this minimizes direct contact and lowers the risk of accidents.
After safely removing the pottery, a thorough evaluation is important. Check the pieces for cracks, imperfections, or any unexpected results from the firing process. Looking at the pottery's surface texture, color variations, and overall design can provide valuable insights into how the clay reacted to the heat and the specific firing conditions used. This evaluation not only improves the quality of the current pieces but also helps inform future pottery creations by understanding how different techniques can lead to various outcomes.
For those interested in applying finishes, now is the perfect time to explore options like natural waxes or surface treatments meant for unglazed pottery. These finishes can enhance both the visual appeal and durability of the pieces. Trying out different techniques can also result in innovative outcomes, adding a personal touch to each item. It's worth noting that while some finishes may highlight characteristics like texture, others can create a glossy sheen or a matte look, depending on the desired effect.
Related Posts:
Learn These Uncommon Bushcraft Skills for Outdoor Mastery
FAQ
What makes wild clay different from other types of clay?
Wild clay has a special natural mix and traits. These traits change how it acts when you process and fire it.
What are the benefits of working with wild clay for pottery?
Wild clay offers a unique texture, color, and strength. These qualities make it a favorite among potters.
What are some common misconceptions about wild clay?
Some think wild clay is hard to work with or rare. But these ideas are not true.
How do I locate suitable wild clay deposits?
To find good clay, learn about your area's geology and geography. Also, check local rules on clay digging.
What tools and equipment are essential for wild clay processing?
You'll need buckets, shovels, and sieves for collecting. For processing, mixers, blenders, and kilns are key. Don't forget safety gear.
How do I test the properties of wild clay?
Try simple tests like the squeeze and drop tests. They show the clay's flexibility, strength, and durability.
What techniques are used to clean and refine wild clay?
Sieving, sedimentation, filtration, and water methods help clean the clay. They remove dirt and make the clay easier to work with.
How do I properly dry and store wild clay?
Keep the temperature, humidity, and light right when drying and storing. This stops the clay from cracking or degrading.
What steps are involved in preparing wild clay for pottery making?
First, knead the clay to make it even. Then, adjust its consistency. You might also add things to make it stronger.
What are the different wild clay firing methods?
You can fire wild clay at low, high, or raku temperatures. Each method has its own needs and results.
How can I troubleshoot common wild clay issues?
If the clay shrinks, cracks, or is too sensitive to temperature, find the cause. Then, change your methods to fix it.
What are the best practices for successful wild clay projects?
Plan well, work safely and efficiently, and keep learning. This will help you improve with each project.